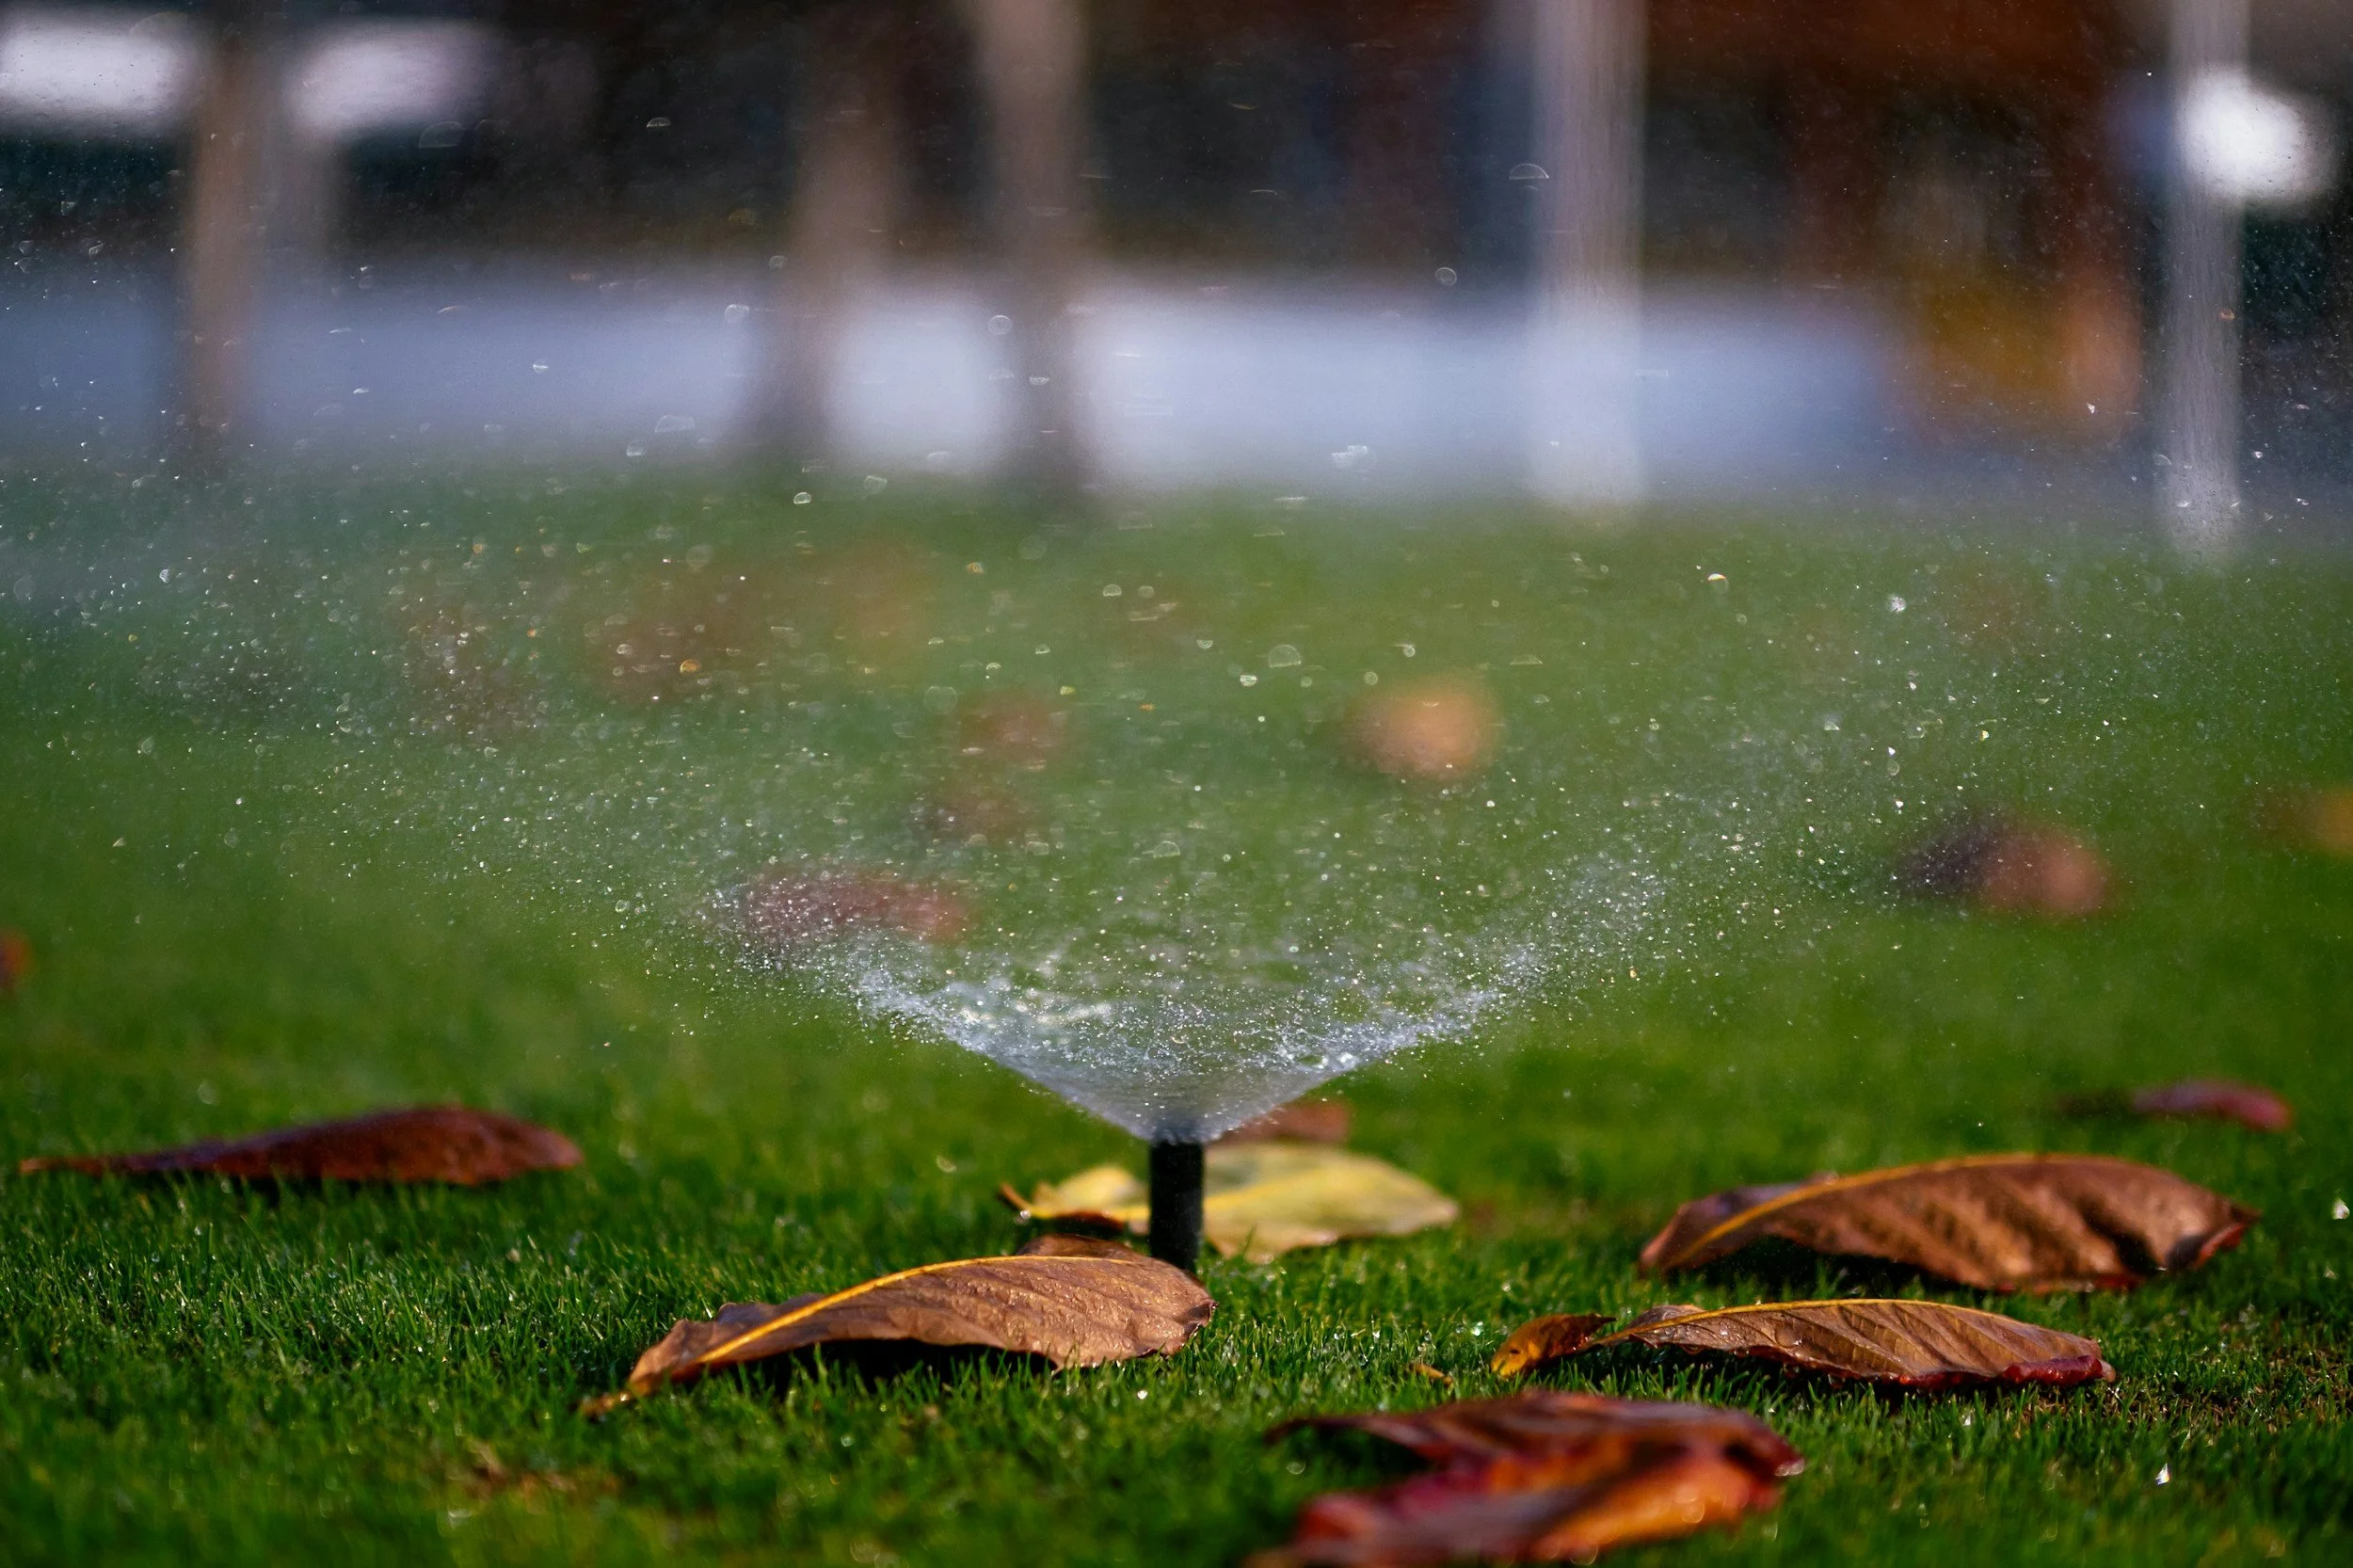
Irrigation System
An irrigation system is a specialized method used to supply controlled and measured amounts of water to various plants, lush lawns, and beautifully maintained gardens. It plays a crucial role in ensuring the health and vitality of landscapes, particularly in regions that experience inconsistent rainfall patterns or prolonged dry spells. By efficiently managing water distribution, irrigation systems help promote robust plant growth and conserve water resources.
Step-by-Step Guide to Installing an Irrigation System with Sprinklers
Step 1: Plan Your Irrigation Layout
Determine the area that needs watering.
Sketch a layout including the types of plants and their water requirements.
Identify water sources and the location of the mainline.
Step 2: Gather Required Tools and Materials
Tools: shovel, trenching tool, PVC cutter, screwdriver, tape measure, and watering can.
Materials: sprinkler heads, PVC pipes, connectors, valves, a backflow preventer, and a timer (optional).
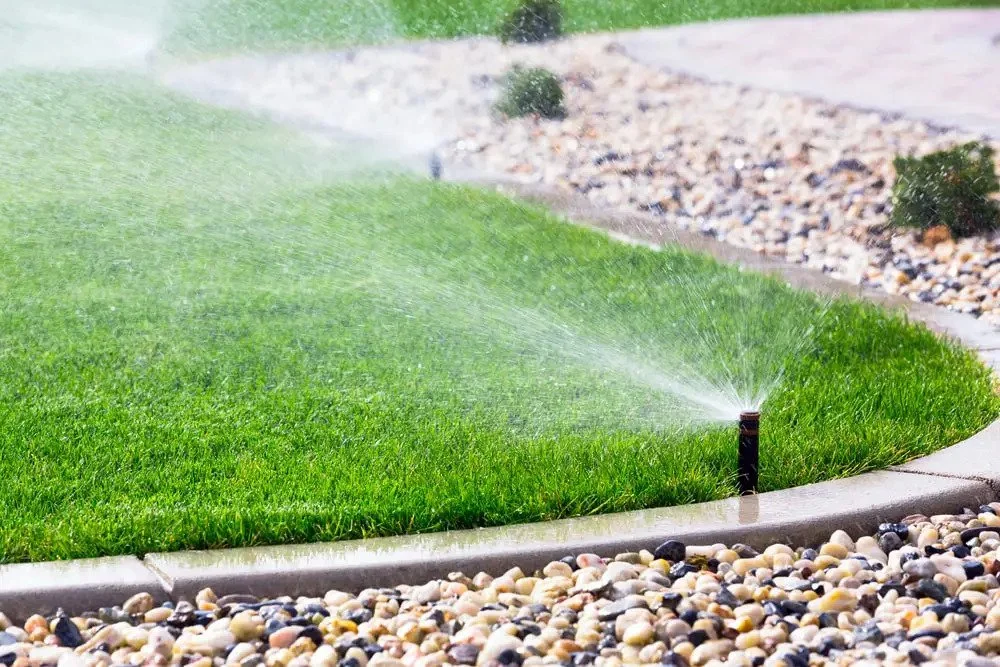
Step 3: Determine Sprinkler Placement
Space the sprinkler heads according to their radius to ensure even coverage.
Mark each sprinkler location on the ground.
Step 4: Dig the Trenches
Dig trenches for the mainline and lateral lines using a trenching tool.
Trenches should be 4-8 inches deep and wide enough for the pipes.
Step 5: Lay the Mainline
Install the mainline by laying down the PVC pipes from the water source to the area you want watered.
Use connectors to join pipes and ensure tight fittings.
Step 6: Install the Valves
Place the valves at the start of each sprinkler zone.
Make sure each valve is connected to the appropriate sprinkler lines.
Step 7: Connect the Sprinkler Heads
Attach the sprinkler heads to the lateral lines based on your layout.
Adjust the height accordingly to the lawn
Step 8: Hook Up the Timer and Backflow Preventer
Install the backflow preventer to ensure no contamination of the water supply.
Connect the timer to the water source and valves.
Step 9: Test the System
Run the system to check for leaks and ensure sprinklers are working correctly.
Adjust sprinkler heads if necessary for optimal coverage.
Step 10: Cover the Trenches
Once everything is functioning as intended, cover the trenches with soil.
Pack the soil down to eliminate air pockets.
Step 11: Final Adjustments
Make any final adjustments to the sprinkler heads.
Set your timer according to the watering needs of your plants and local regulations.
This step-by-step process will help you to install a functional irrigation system with sprinklers, ensuring effective watering for your landscape.